Scan a found item into inventory
Every found item starts here. Scanning adds the item to your lost & found inventory and, if it carries a registered tag, sets up the automatic notification to the right family.
Option A — the item has a Boomeraang tag
- Open Scan (on mobile, from your organization's lost & found).
- Point the camera at the QR code. Boomeraang recognizes the tag and looks it up.
- If the tag is registered, details like the item photo and description pre-fill automatically.
- Add the found location (for example, "gym lobby"), take a photo if helpful, and save.
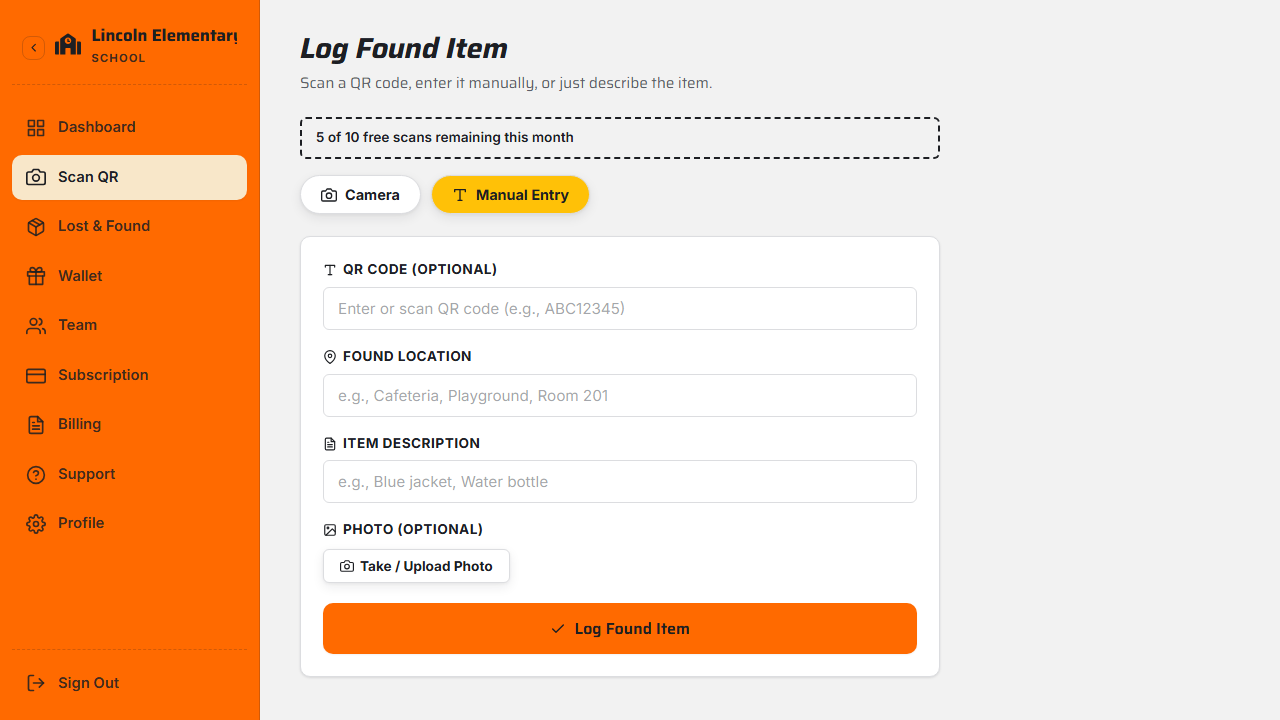
The item enters your inventory with status Found, and the linked family can be notified.
Option B — no tag
Not every lost item has a tag — that's fine.
- In the scan screen, choose Log without scan.
- Take a photo of the item (required when there's no tag).
- Enter a description and the found location, then save.
The item is added to inventory so it's tracked and searchable, ready for someone to claim.
Good photos = faster returns
A clear, well-lit photo dramatically improves the odds a family recognizes their item — especially for untagged entries.
Free plan scan limit
Free organizations can scan up to 10 items per month. When you reach the limit you'll see a prompt to upgrade. Pro removes the limit entirely. See Org Free vs Pro & billing.
What's next
Still stuck? Contact us — we're happy to help.