Create & print your first tag
A Boomeraang tag is a QR code sticker you attach to your belongings. When someone finds a tagged item and scans it, you get notified instantly — without ever exposing your private details. One tag can cover many items (for example, everything in one child's backpack).
1. Generate a tag
- From your dashboard, choose New tag (or go to QR codes → Generate).
- Give the tag a name that helps you recognize it — like "Mia's school kit" or "Dad's gym bag".
- Choose Create tag.
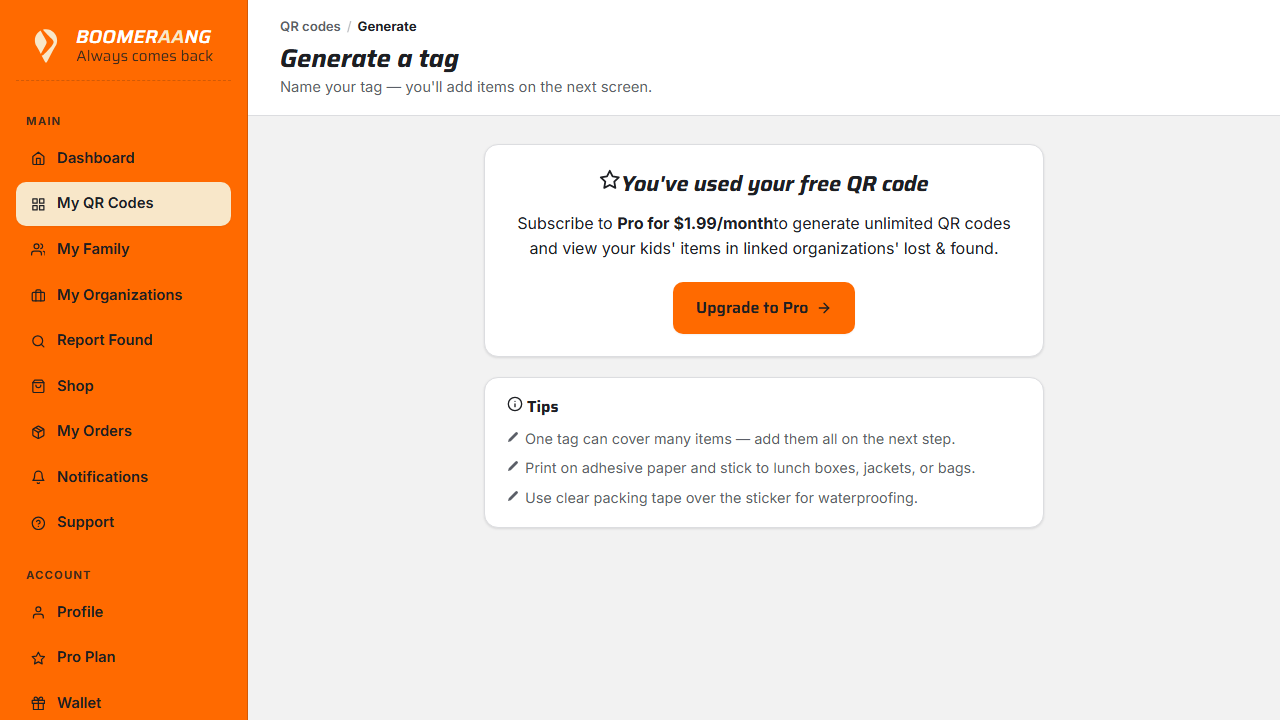
On the Free plan you can generate 1 tag. Pro unlocks 3 new tags every month. Either way, a tag you've created never expires — see Free vs Pro.
2. Add the items this tag covers
Right after creating the tag, the item drawer opens automatically so you can list what the tag protects — for example lunch box, blue jacket, water bottle. Add as many as you like; they all share this one QR code.
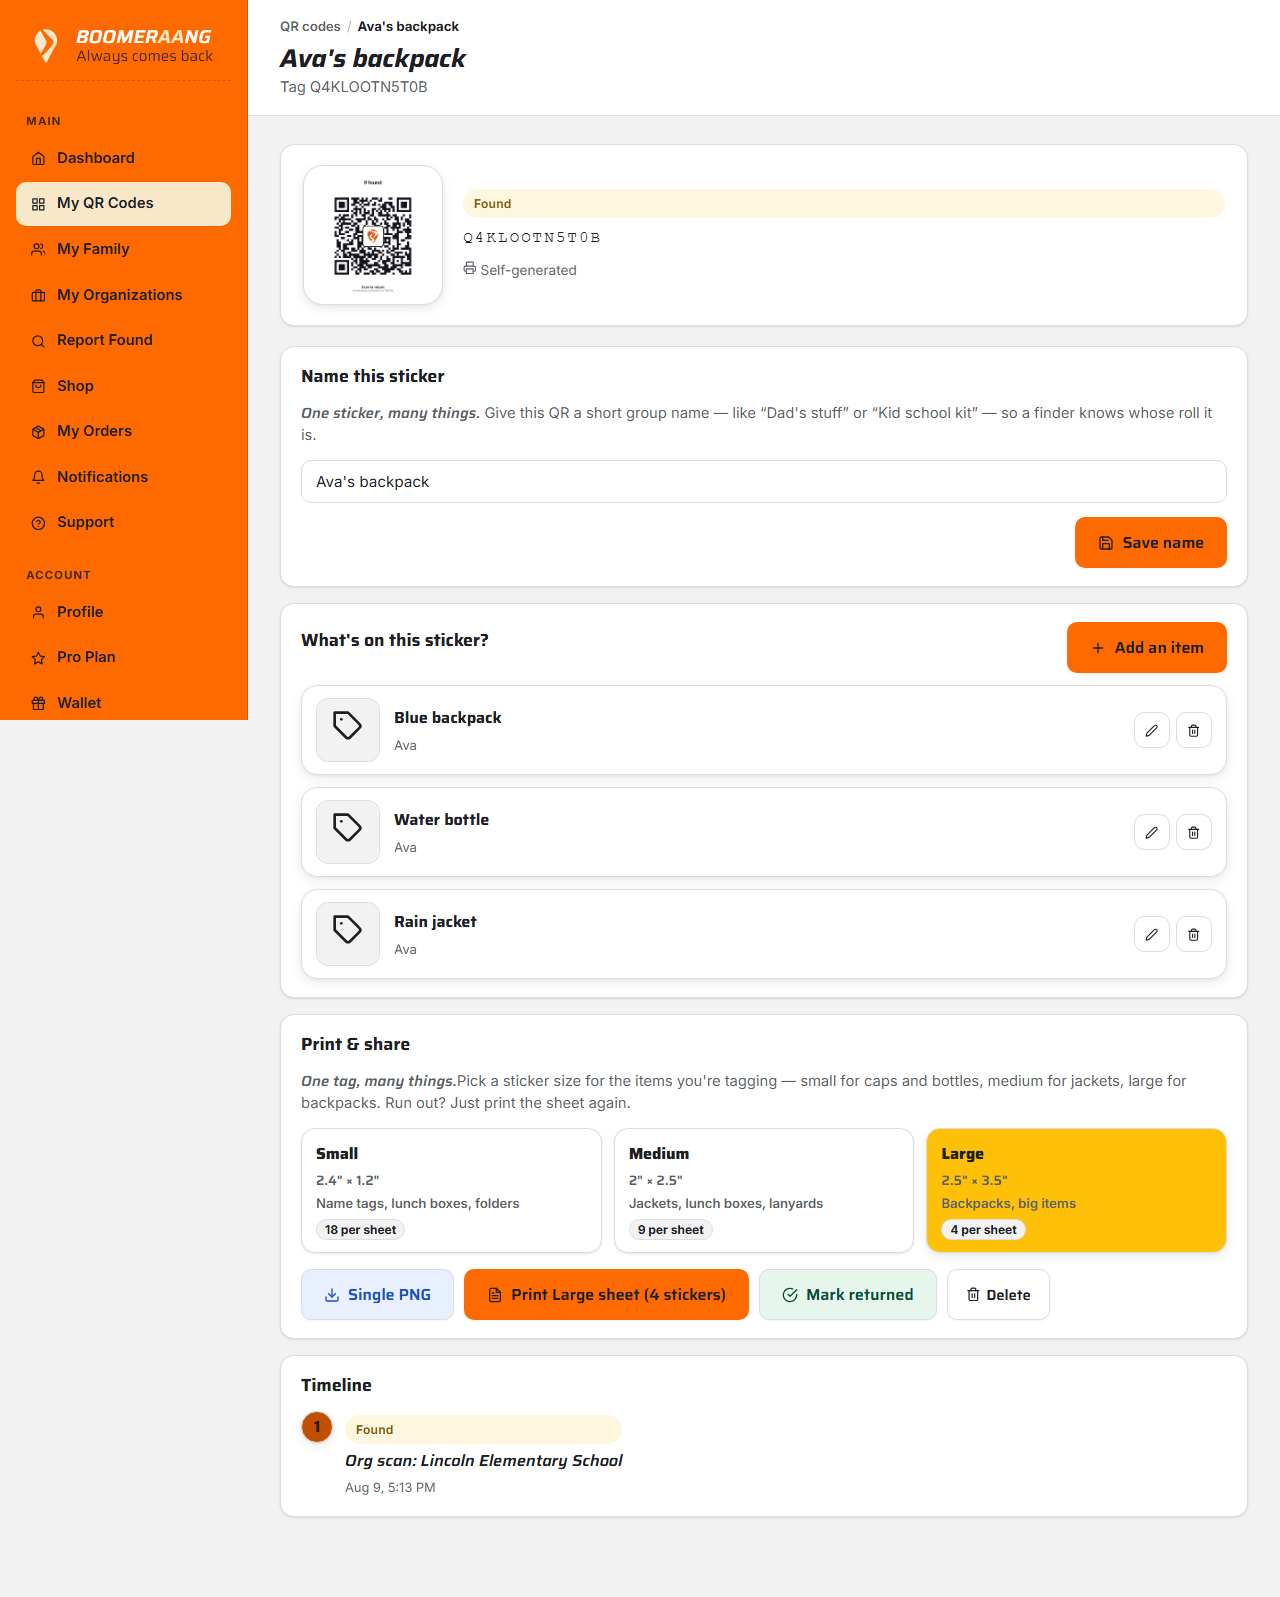
You can also set a photo, description, and category for each item, and attach the tag to a specific family member.
3. Print the sticker sheet
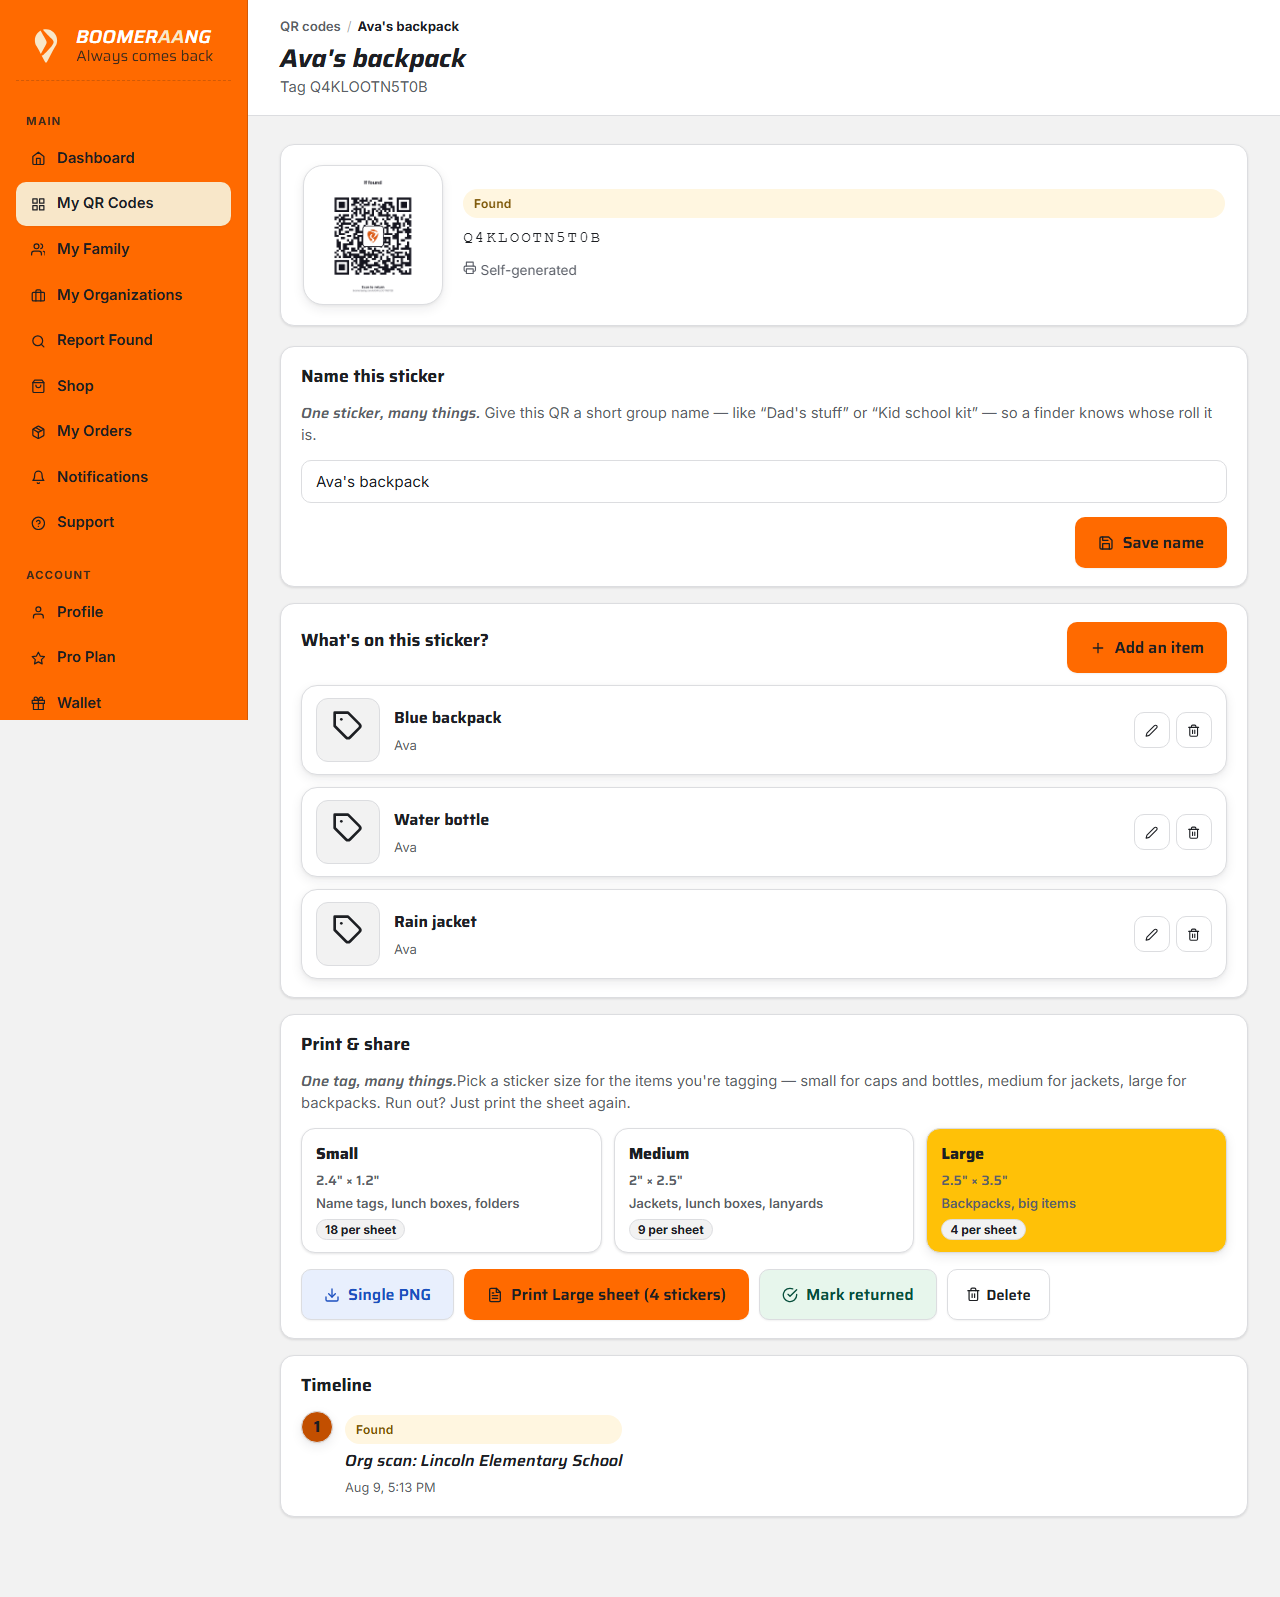
From the tag's detail screen, choose Print and pick a size:
| Size | Stickers per sheet | Good for |
|---|---|---|
| Small | 18 | Water bottles, pencil cases, small gear |
| Medium | 9 | Lunch boxes, jackets, backpacks |
| Large | 4 | Sports bags, instrument cases, strollers |
Boomeraang generates a print-ready PDF. Print it on adhesive paper (or regular paper + tape).
4. Attach it
- Cut out a sticker.
- Stick it somewhere visible but durable — inside a jacket collar, the bottom of a lunch box, the side of a backpack.
- For items that get wet or rough handling, cover the sticker with clear packing tape to waterproof it.
Because a sheet has multiple copies of the same code, you can put the same tag on every item in a set — so a finder who scans any of them reaches you.
What's next
Still stuck? Contact us — we're happy to help.